Getting Started: Your Toolkit
Install everything and run your first @Solar command.
📖 Lesson Content
Getting Started: Your Toolkit
What is @Solar?
@Solar is a VS Code extension that lets you build fully functional web prototypes by describing what you want in plain English. No coding required.
It lives inside GitHub Copilot Chat — a chat panel built into VS Code. You type what you want, and @Solar generates a complete, running application using Planet's Solar Design System — the same components used in production. Every prototype you create is automatically on-brand.
Why does this matter for product work?
- Speed: Go from idea to clickable prototype in minutes, not days
- Consistency: Everything uses the real Solar Design System — no "close enough" mockups
- Shareability: Generate a public link and send it to anyone — they just open it in a browser
- No coding: You describe screens in plain English; @Solar writes all the code
What You'll Need
Before starting, make sure you have all of these installed and configured:
| Tool | Why you need it | Minimum version | Install link |
|---|---|---|---|
| VS Code | The editor where everything happens | 1.93.0+ | Download |
| Node.js | Runs the live preview on your machine | 18+ (LTS) | Download — pick the LTS option |
| GitHub Copilot Chat | The AI chat panel that @Solar lives inside | Latest | Install from VS Code Marketplace |
| GitHub account | Authentication + access to internal packages | — | Must be a member of the @weareplanet organisation |
| Solar DS Copilot | The @Solar extension itself | Latest | Download .vsix from GitHub Releases |
How to check your org access: Go to github.com/weareplanet/solar-ds-copilot. If you can see the repository page, you're in. If you see a 404 "Not Found" page, you need to request access — open a ticket on Luna and paste this message (replace the placeholder with your GitHub username):
Hello, I need access to the @weareplanet GitHub organisation to use the @solar VS Code extension. My GitHub username is: [YOUR GITHUB USERNAME]. Thank you!This may take a day or two, so do it early.
Quick VS Code Orientation
You'll explore VS Code in depth in Module 7. For now, you only need to know three areas:
- Sidebar (left): Where you find your files, extensions, and the chat icon
- Editor (center): The main area — this is where file content and the live preview appear
- Copilot Chat panel: Opens with
Cmd+Shift+I(Mac) /Ctrl+Shift+I(Windows) or by clicking the chat icon in the sidebar. This is where you talk to @Solar.
Step-by-Step Setup
1. Install VS Code
Download and install from code.visualstudio.com. Open it after installation.
2. Install Node.js
Download the LTS version from nodejs.org.
Already have it? If you're not sure, just install it from the link above — installing it again won't cause any problems.
3. Install GitHub Copilot Chat
Open VS Code, go to the Extensions panel (puzzle-piece icon on the left sidebar), search for "GitHub Copilot Chat", and click Install.
4. Sign in to GitHub
Click the Accounts icon (bottom-left corner of VS Code) → Sign in with GitHub and follow the prompts. You should see your GitHub username appear there when done.
5. Install the Solar DS Copilot Extension
- Go to the solar-ds-copilot releases page
- Download the latest
.vsixfile - In VS Code, open the Extensions panel (puzzle-piece icon)
- Click the
...menu at the top of the Extensions panel → Install from VSIX… - Select the
.vsixfile you downloaded
6. Open a Folder in VS Code
For the best experience, create a new, empty folder on your computer (e.g., My First App on your Desktop) and open it in VS Code: File → Open Folder.
Tip: An empty folder is ideal, but not strictly required — @Solar can also set up a project inside an existing folder. It only creates new files and never overwrites existing ones.
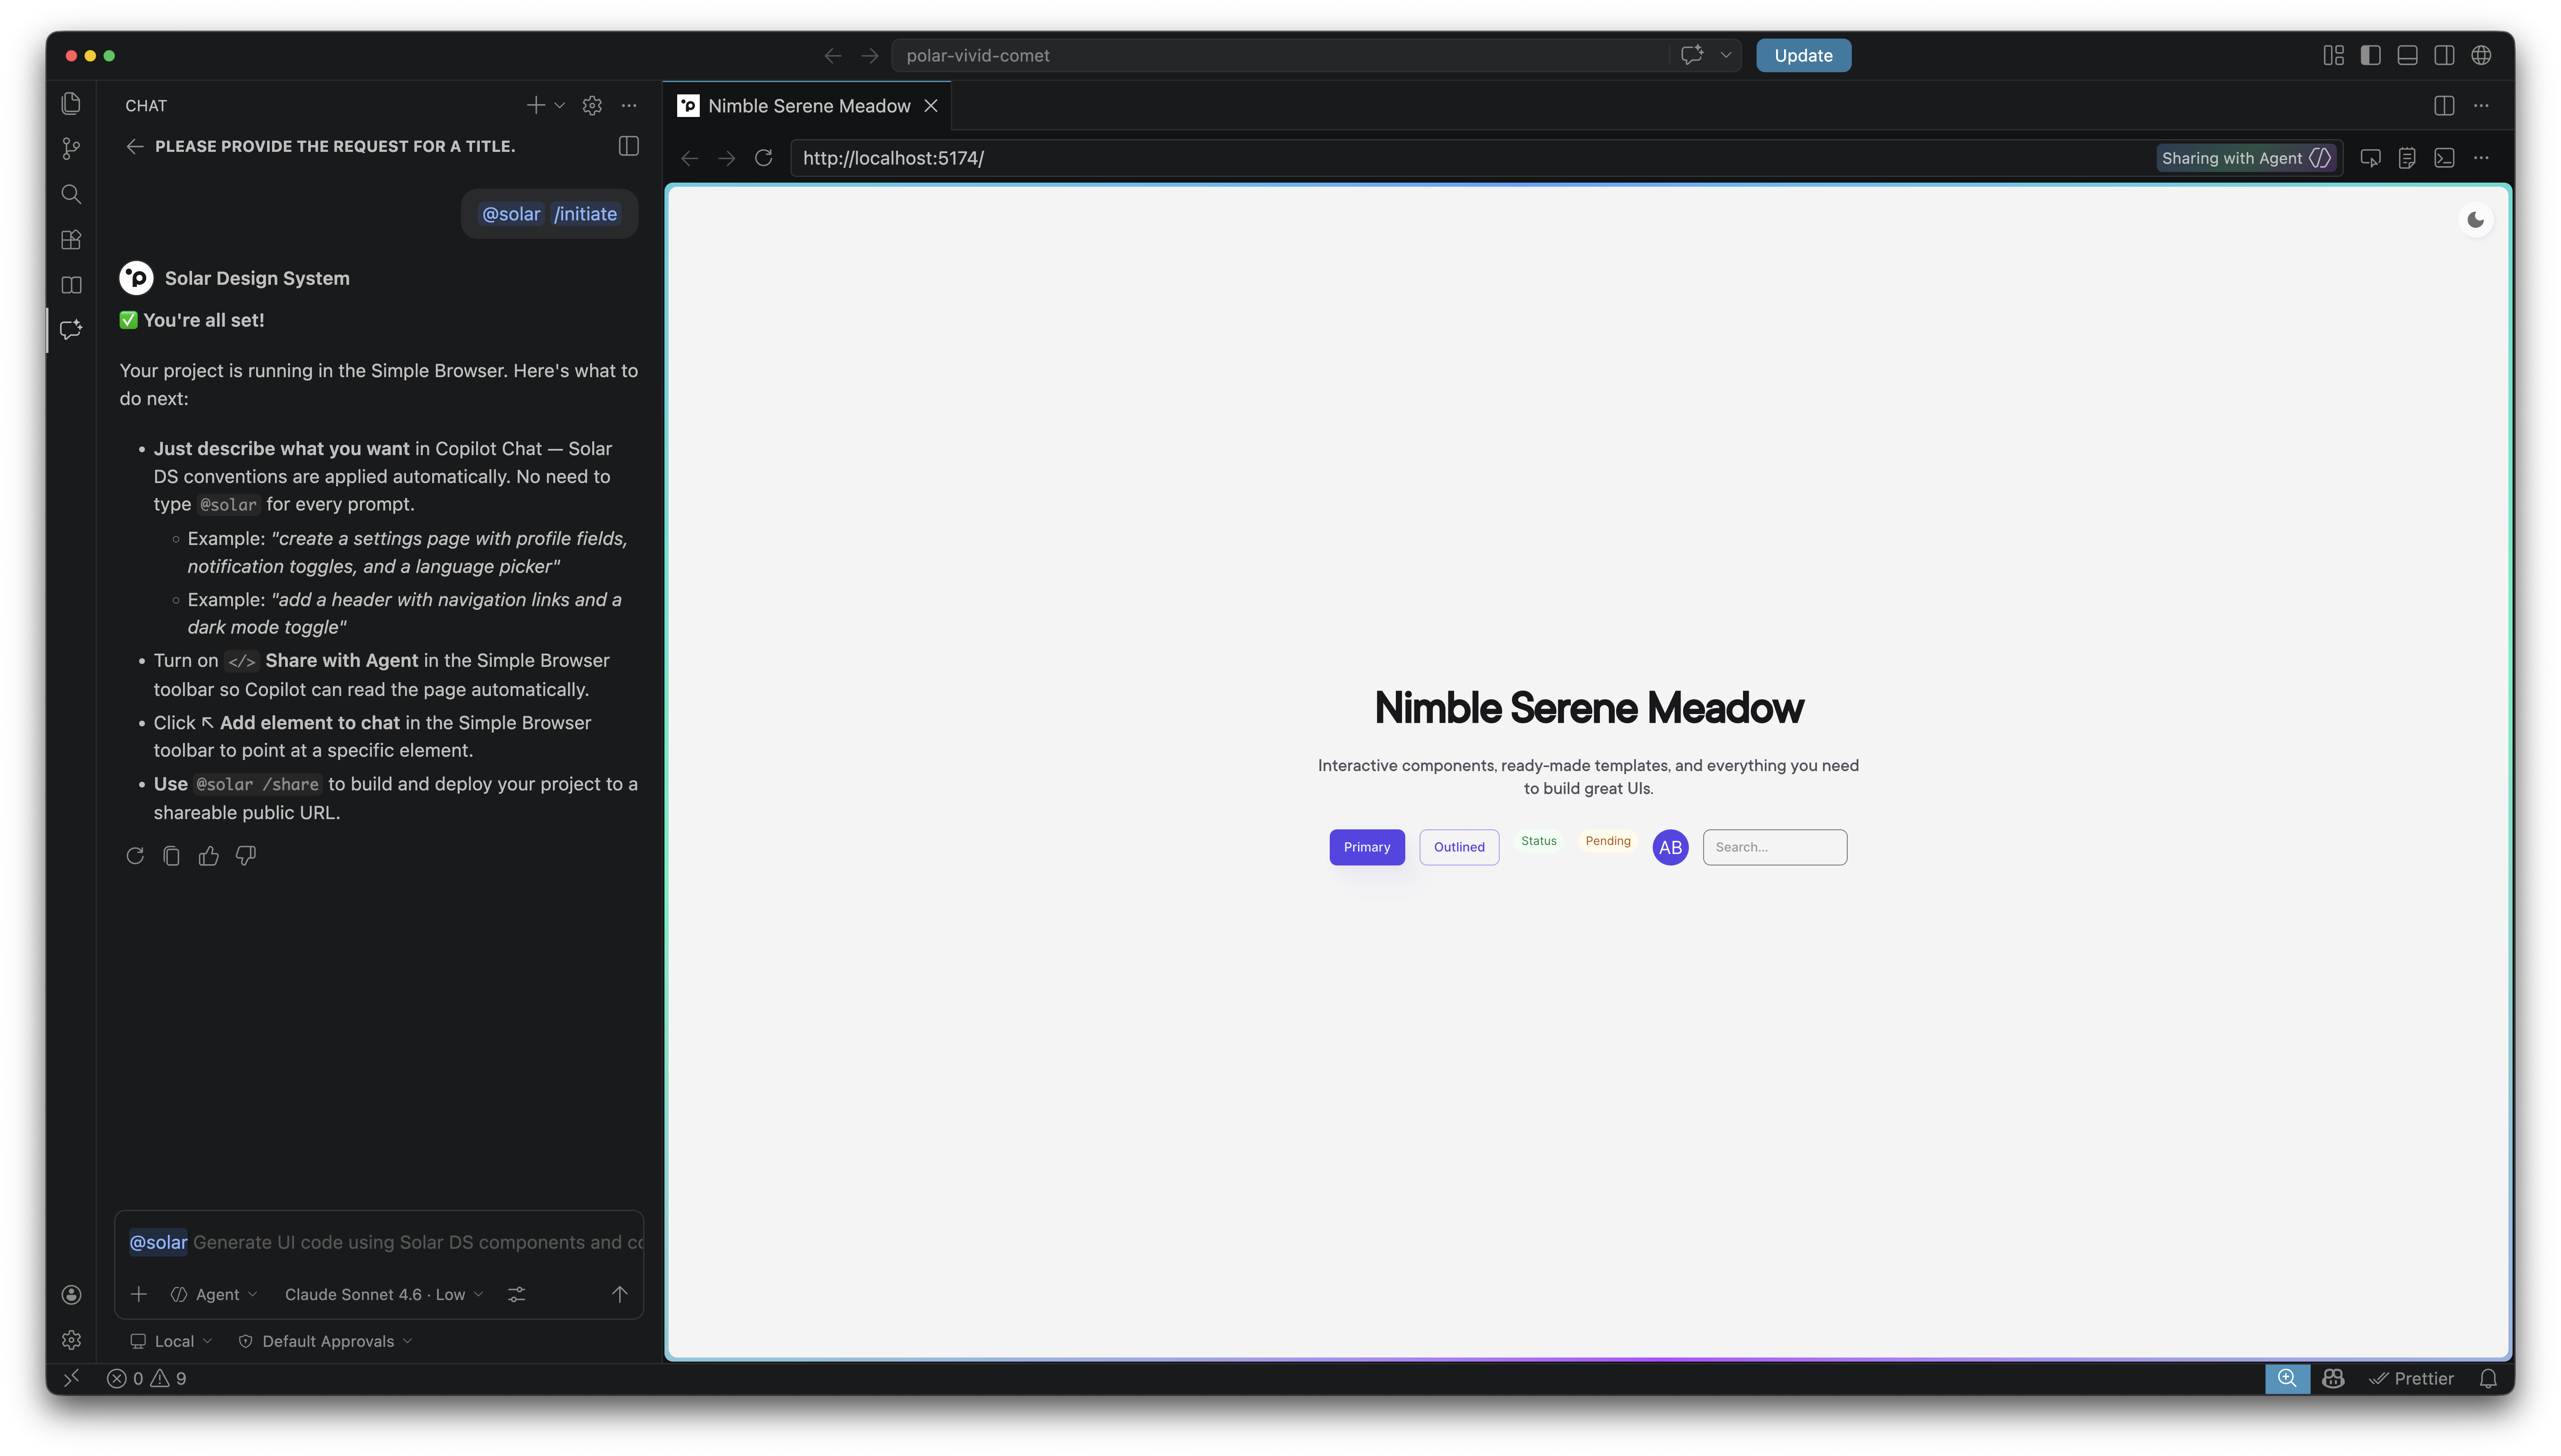
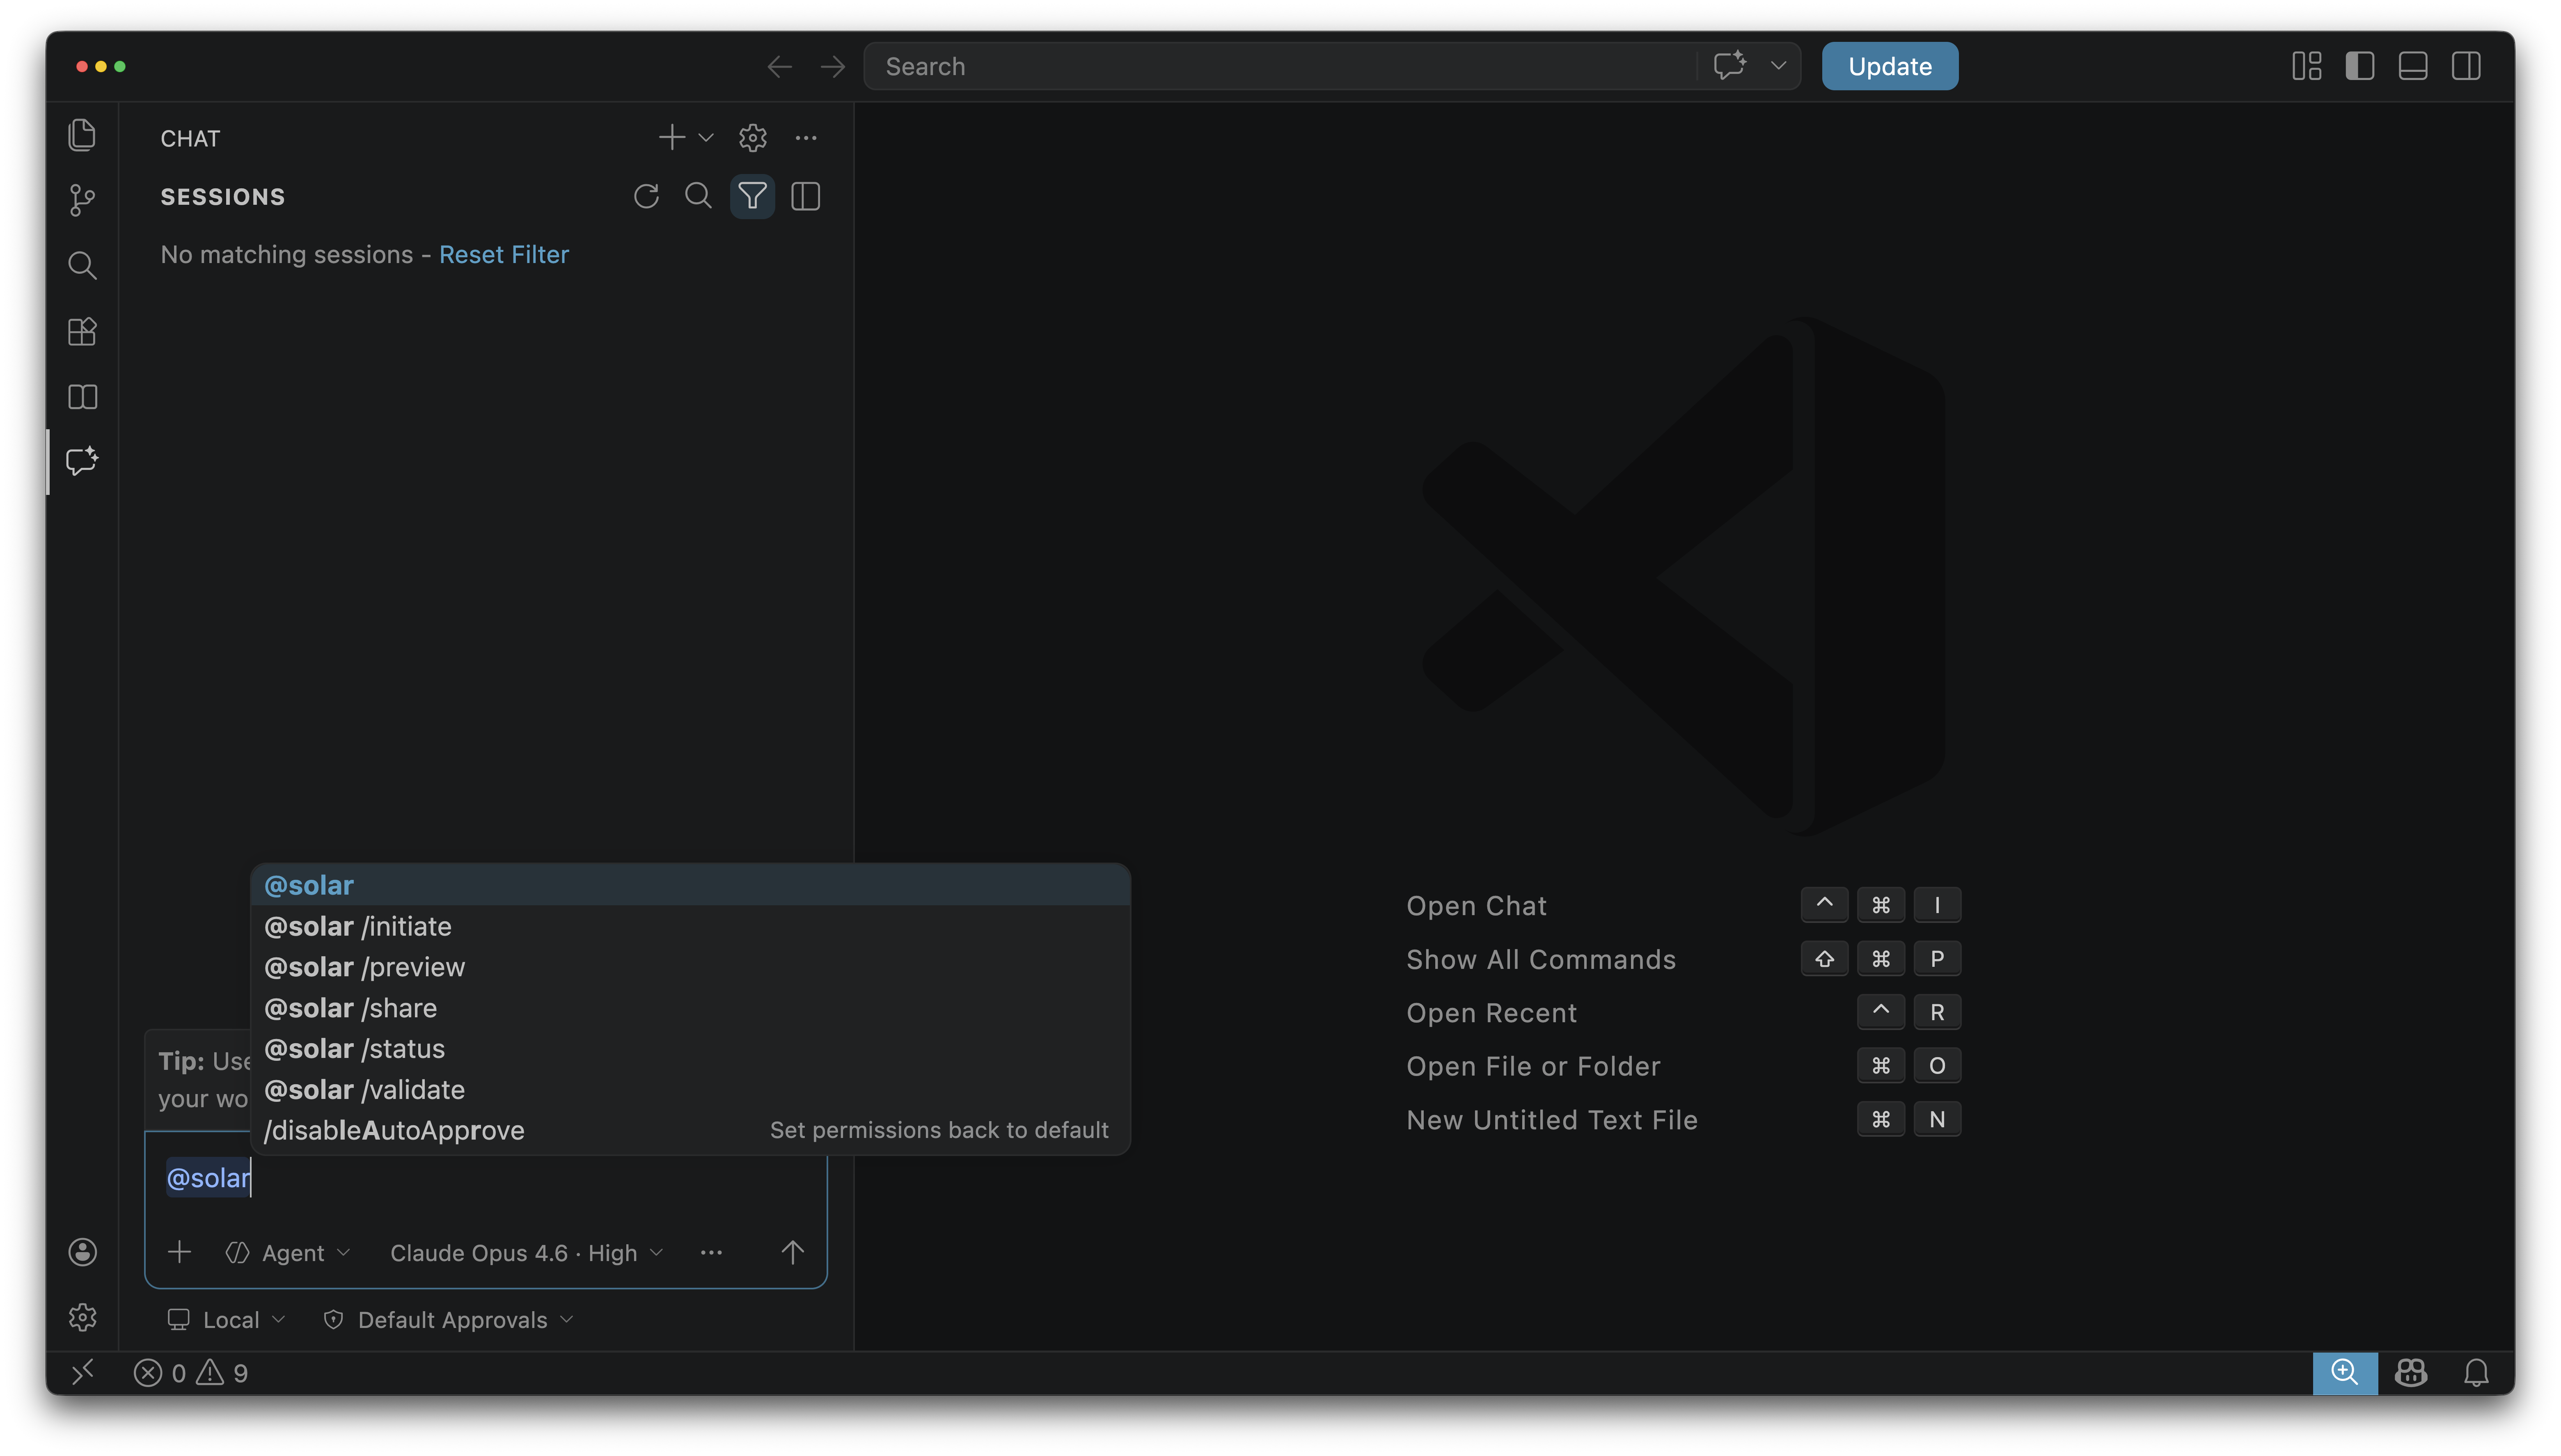
Your First Command: /initiate
Open the Copilot Chat panel (Cmd+Shift+I on Mac, Ctrl+Shift+I on Windows) and type:
@solar /initiate My First App
What happens next
@Solar will now set up a complete project for you. Here's what to expect — don't close anything, just watch:
- Authentication check — @Solar verifies your GitHub sign-in and org access. If your npm authentication isn't configured yet, it will set it up automatically.
- Project scaffold — @Solar creates 20+ files: pages, navigation, theming, sample data, configuration, and more.
- Dependency installation — VS Code will show progress as packages are installed. This can take 30–60 seconds the first time.
- Live preview opens — A built-in browser panel opens inside VS Code showing your running app at
localhost:5173.
This takes about 1–2 minutes the first time. Subsequent projects are faster because packages are cached.
What @Solar Created
After /initiate finishes, you'll have a complete app with:
- Sidebar navigation — A left-side menu to switch between pages
- Get Started page — A welcome screen with template cards you can use later
- Example pages — A Transactions list, a Transaction detail page, and an Add Payment form
- Settings page — A page with profile fields and notification toggles
- Theming — Light/dark mode support using the Solar Design System
- Live preview — The app running in VS Code's built-in browser
Re-opening the Preview
If you accidentally close the preview panel, type:
@solar /preview
This restarts the dev server if needed and re-opens the built-in browser.
You can also re-open it manually: Cmd+Shift+P (Mac) / Ctrl+Shift+P (Windows) → type "Simple Browser: Show" → enter http://localhost:5173.
Quick Tip: Auto-Initiate
You don't actually have to run /initiate first. If your folder is empty and you describe what you want directly:
@solar create a dashboard with some charts and a sidebar
@Solar will detect that there's no project yet, set everything up automatically, and then build the page you asked for — all in one step.
Key Concepts Summary
| Concept | What it means |
|---|---|
| Copilot Chat panel | Where you talk to @Solar (Cmd+Shift+I / Ctrl+Shift+I) |
/initiate | Creates a new project with navigation, theming, and sample pages |
/preview | Re-opens the live preview if you close it |
| Live preview | A built-in browser inside VS Code that shows your running app |
| Auto-initiate | If you describe a page in an empty folder, @Solar sets up the project automatically |
| File safety | @Solar only creates new files — it never overwrites your existing work |
Need Help?
If something isn't working, try typing this in the Copilot Chat panel:
@solar /status
This shows your environment status — whether you're signed in, whether the preview is running, and more.
You can also ask Copilot (without the @solar prefix) for general help. Just paste any error message into the chat and ask what it means:
I'm getting an error that says "npm ERR! 401" — what does this mean and how do I fix it?
Copilot can help you understand and fix most common issues.
Still stuck? Fill out the feedback form and we'll get back to you.
Optional: Upgrade Your GitHub Copilot Licence
This step is not required. The standard GitHub Copilot licence is fully sufficient to complete all modules in this course. This is a purely optional upgrade for those who want to get even more out of the tools.
Upgrading your licence unlocks two key benefits:
- More AI models — access to advanced models such as Claude Sonnet and GPT-4o, which tend to produce higher-quality code and more accurate responses
- Higher usage quota — generate more prototypes and iterate faster without hitting daily limits
Step 1 — Open a Luna ticket
Go to luna.weareplanet.com and open a new ticket with the following title and message:
Title: Request: Upgraded GitHub Copilot licence — Solar DS Academy
Message:
Hello, I would like to request an upgraded GitHub Copilot licence to support me while design new solutions using our Solar Design System. An upgraded licence provides access to additional AI models and a higher usage quota, which is paramount for delivering my work 10x faster and better. This request requires ELT approval or approval from Thiago Charão and I will handle it once I get the ticket. My GitHub username is: [YOUR GITHUB USERNAME]. Thank you!
Replace
[YOUR GITHUB USERNAME]with your actual GitHub username before sending.
Step 2 — Contact Thiago Charão on Teams
Once your Luna ticket is created, open Microsoft Teams, find Thiago Charão, and send him the ticket link asking for approval:
Hi Thiago! I've opened a Luna ticket to request an upgraded GitHub Copilot licence as part of the Solar DS Academy. Could you approve it when you get a chance? Here's the link: [LUNA TICKET LINK]. Thank you!
Replace
[LUNA TICKET LINK]with the URL of the ticket you just created.
This request requires approval from ELT or Thiago Charão — reaching out directly on Teams is the fastest way to get it moving.
🏋️ Exercise
Hands-on practice for Module 1
📝 Module Quiz
Test your knowledge of Module 1 concepts.
Take the Quiz